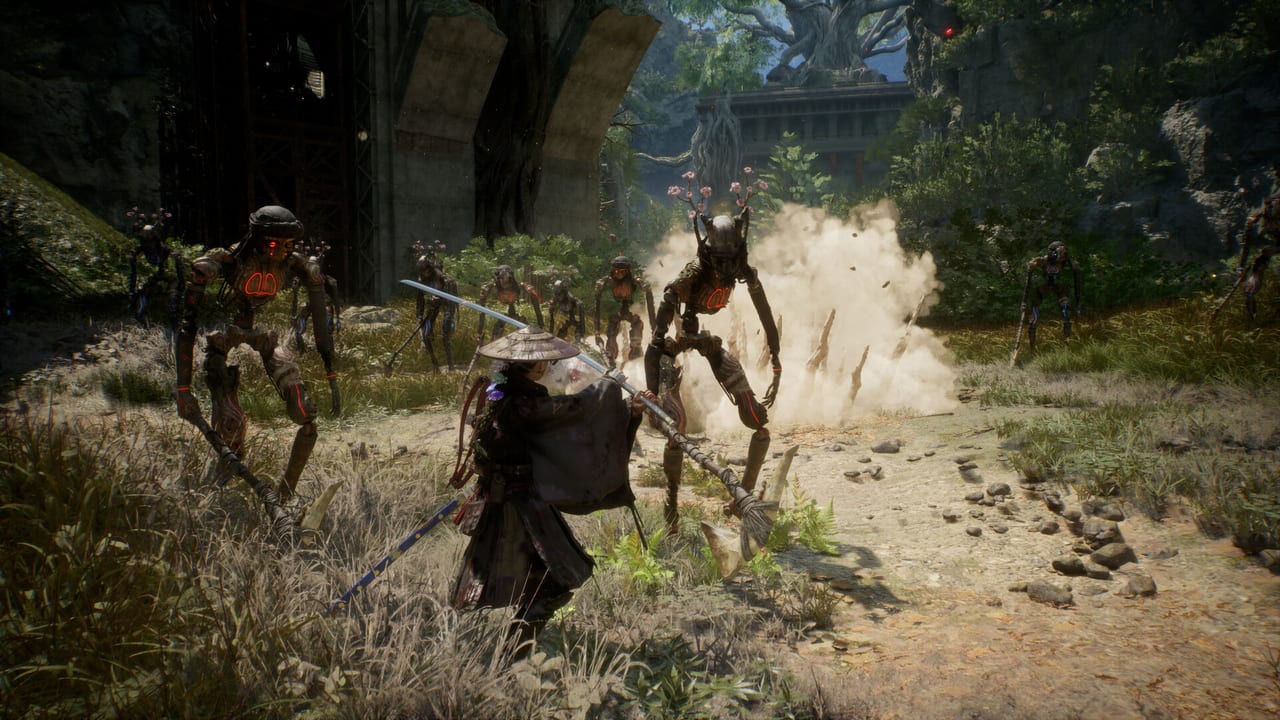
Beast of Reincarnation Down Gauge and Lethal Finishers
Why stagger beats chip damage — and how Emma plus Koo break enemies faster than HP trading ever will.
Beast of Reincarnation looks like a parry-forward action RPG on the surface, but its hidden speedrun is the Down Gauge — a stagger meter every enemy carries, including Nushi great beasts and mechanical golem-type heavies from early previews. Fill the gauge and you earn Lethal prompts for high-damage finishers with invulnerability frames that reset fight tempo. Ignore the gauge and even trash mobs become slogfests.
This page is the combat backbone for every boss and walkthrough guide on the wiki. Learn it early in Getting Started, reference it before Nushi attempts in Nushi Basics, and revisit when new Bloom Arts or Spirit Stones change your stagger output.
Down Gauge vs health bar
The health bar is the slow road. The Down Gauge is the fast one.
Preview coverage and official combat overviews describe a loop where Emma’s Just Guards, Blade Arts, and Koo’s Bloom Arts all contribute stagger damage. When the gauge breaks, enemies enter a vulnerable state prompting Lethal execution — instant or near-instant kills on regular foes, massive HP chunks on elites and bosses.
Mental model shift for soulslike veterans: aggression aimed at stagger beats patience aimed at chip damage. Especially on Nushi, watching gauge progress matters more than watching boss HP percentages.
Building gauge efficiently
Three inputs feed the Down Gauge fastest:
Just Guards. Precision parries against eligible attacks restore FP for Koo, charge Emma’s Blade Arts, and chip stagger simultaneously. Holding block too early fails the Just Guard and stacks posture-style pressure on Emma instead — preview guides warn that panic guarding is worse than a clean dodge.
Bloom Arts on stagger windows. Koo’s menu slows time so you can pick arts that maximize gauge shock rather than random damage. Many Bloom Arts exist primarily to interrupt elites or amplify stagger when used right after a parry chain.
Blade Arts after successful defense. Emma’s personal skills consume gauge built from parries. Weaving them between Koo commands prevents gauge waste while maintaining offensive tempo.
Low-efficiency habits to drop:
- Light attack spam without parry setup.
- Bloom Arts fired immediately off cooldown with no FP bank.
- Dodging every attack instead of learning which telegraphs are parry-safe.
Lethal execution rules
When the Down Gauge breaks, a Lethal prompt appears. Executing it:
- Deals disproportionate damage compared to sustained combos.
- Grants invulnerability during the animation, acting as a reset button in chaotic packs.
- Clears trash encounters instantly, saving resources for elite rooms before boss gates.
On bosses, Lethals may not one-shot, but they still remove large HP segments and create breathing room for healing or repositioning. Chain Lethals across phases by re-building gauge instead of celebrating a single break.
Practice on early mechanical golem-type enemies: their slow swings are ideal for parry-to-Bloom-to-Lethal rehearsal before Zones Overview sends you toward Nushi arenas.
FP, Blade Arts, and resource coupling
Down Gauge progress is not isolated — it ties into Emma and Koo’s shared economy:
| Action | Down Gauge | FP / Blade Arts |
|---|---|---|
| Just Guard | Strong gain | Restores FP, charges Blade gauge |
| Failed guard | None; posture risk | Wasted opportunity |
| Bloom Art (stagger type) | Very strong gain | Spends FP |
| Blade Art | Moderate gain | Spends Blade charge |
| Lethal | Executes break | Resets tempo |
Because FP refills from parries, defensive mastery fuels offensive stagger spikes. That is the core Emma-Koo synergy marketing emphasizes: real-time swordplay plus tactical dog commands linked by timing, not separate systems.
Gear that accelerates stagger
Spirit Stones and weapon upgrades can bias builds toward gauge breaking. Examples from preview deep dives include passives that increase stagger damage, extend windows after parries, or trigger shockwaves on perfect guards. Socket them in armor slots documented on Weapons and Gear.
Koo charms that boost Bloom potency or FP recovery indirectly speed Lethals by letting you fire more stagger arts per fight. See Koo Charms for companion-specific modifiers.
Swap stones between zones when enemy types change — stagger runes help against great beasts, while shockwave stones clear mixed malefact packs faster.
Difficulty interaction
Story Mode widens Just Guard timing, which makes gauge building easier without removing the mechanic. Normal and Hard demand sharper reads but use the same Down Gauge rules — only your parry consistency changes.
If Lethals rarely appear, lower difficulty temporarily to learn telegraphs, then climb once parry-to-Bloom chains feel automatic.
Boss-specific stagger discipline
Nushi and large mechanical elites punish gauge mistakes twice: long HP pools extend fights, and arena hazards punish greedy strings after a break.
Boss workflow:
- Learn which attacks are parry-safe versus dodge-only.
- Bank FP before phase transitions.
- Commit Bloom Arts when the boss enters recovery, not during active sweeps.
- Execute Lethals immediately on prompt — delay wastes invulnerability.
- Reposition after animation end; great beasts rarely stay staggered forever.
Full arena context lives in Nushi Basics. Walkthrough routing that ensures you arrive upgraded is in Getting Started.
Training drill (repeatable)
Pick a cleared zone with mixed trash and one elite:
- Enter with full FP and no wasted Blade charge.
- Parry the elite’s first committed attack.
- Fire one stagger-focused Bloom Art.
- Weave two Blade Arts during stagger buildup.
- Execute Lethal on break.
- Note time-to-kill versus a run where you only light attack.
The stagger route should win by a wide margin. If not, upgrade weapons once or equip a stagger Spirit Stone before blaming execution.
When chip damage still matters
Some enemies carry elemental weaknesses or ranged vulnerability where crossbow pressure complements gauge builds. Down Gauge remains primary, but Weapons and Gear covers elemental bolts and katanas that raise baseline damage during stagger windows.
Return to Bosses Hub for great beast specifics or the Walkthrough Hub when applying these rules across quarantine zones.
Frequently Asked Questions
Quick answers to the most common questions.
What is the Down Gauge in Beast of Reincarnation?
It is the stagger meter on every enemy. Just Guards, Bloom Arts, and Blade Arts fill it; when it breaks, you can trigger a Lethal finisher for massive damage or instant kills on weaker foes.
How do Lethal kills differ from normal combos?
Lethals activate after the Down Gauge breaks, dealing far more damage than chip combos and granting invulnerability during the animation — a tempo reset in busy fights.
Do parries only block damage?
No. Successful Just Guards restore FP for Koo, charge Emma's Blade Arts, and build stagger — defense is your main resource engine.
Why am I not seeing Lethal prompts on bosses?
Bosses need more stagger buildup than trash mobs. Bank FP, use stagger-focused Bloom Arts after parries, and equip Spirit Stones that boost gauge damage before retrying.